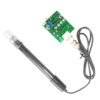
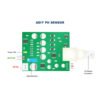
Ph Sensor Module with Ph Probe – ADIY
₹2,770.00 Original price was: ₹2,770.00.₹1,401.00Current price is: ₹1,401.00. (Including GST)
Applications: PH Sensor Module
- Water quality testing
- Aquaculture
Description
This pH sensor is commonly used to test the pH of a liquid as it measures the hydrogen-ion activity in water-based solutions. Wherever acidity and alkalinity testing is required, it is frequently employed in the chemical businesses, pharmaceutical industry, dye industry, and
scientific research. This kit’s drive board works with both 9V systems. It’s also very easy to work with Arduino and Raspberry Pi.
It can be used in a variety of PH measurements with fast response and excellent thermal stability. It has good reproducibility, and can eliminate basic alkali errors. In 0pH to 14pH range, the output voltage is linear. The reference system which consists of the Ag/AgCl gel electrolyte salt bridge has a stable half-cell potential and excellent anti-pollution performance. The ring PTFE membrane is not easy to clog, so the electrode is suitable for long-term online detection
Features: Ph Sensor Module
- 1. This pH sensor is a piece of equipment used in science to determine whether a solution is naturally acidic or alkaline
- 2. pH levels can be detected between 0 and 14 by the sensor set
- 3. This pH sensor kit can be used to assess the quality of both soil and water
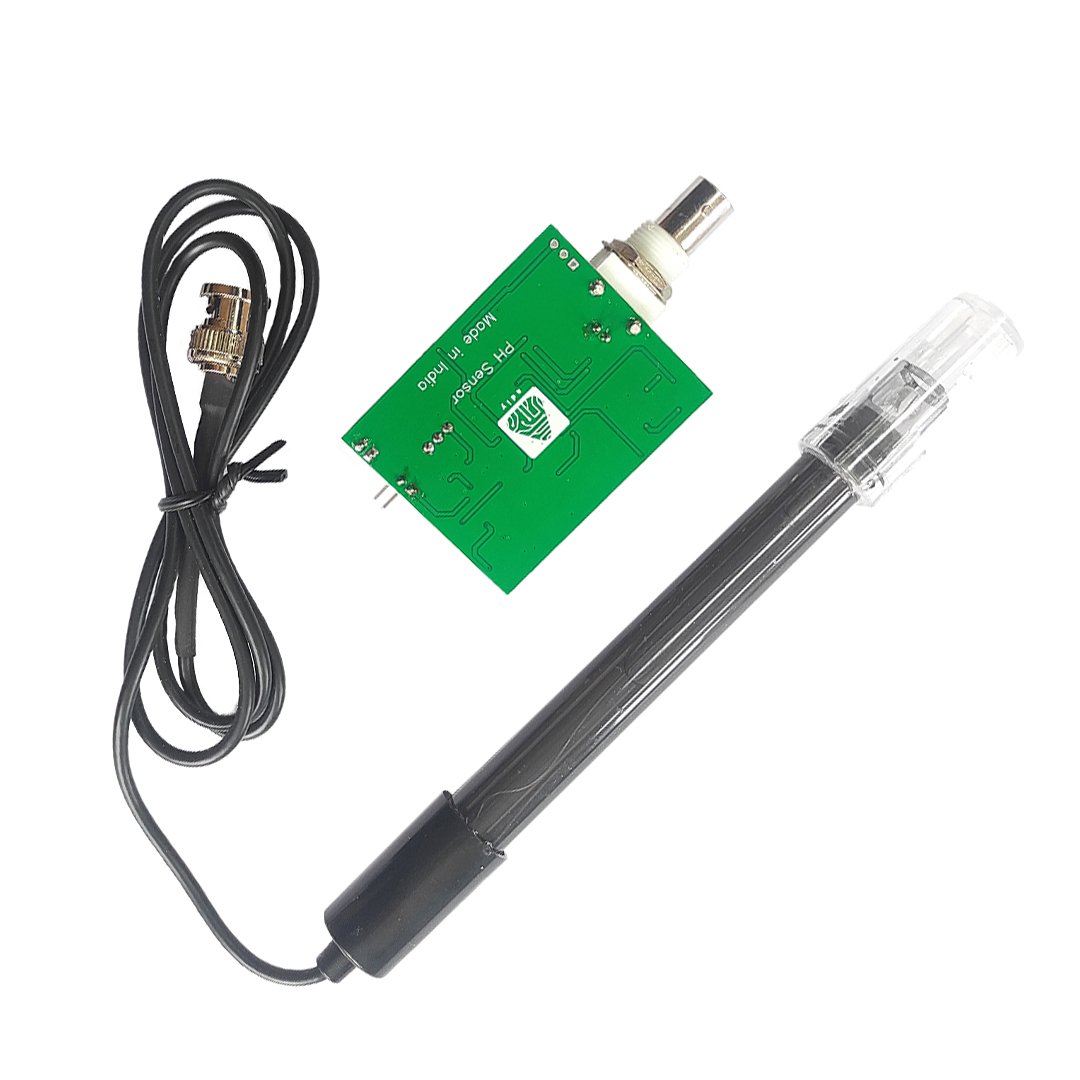
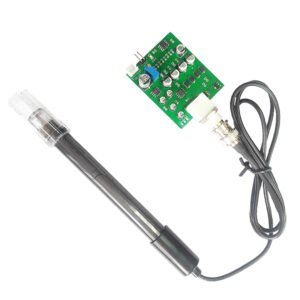
- 4. As part of the sensor package, a pH probe and sensor board will be used to condition the signal
Specification: PH Sensor Module Kit
- Module Power: DC 9.00V 1A
- Measuring Range: 0-14PH
- Accuracy: ± 0.1pH (24 )
- Response Time: 1min
- Industry pH Electrode with BNC Connector
- PH Interface (2-foot patch )
- Power Indicator LED
- Output: Analog values in the range of (0.5V to 3V)
- Alkali Error: 0.2PH
- Internal Resistance: 250MO
- Response Time: <1min
- Operating Temperature: 0-60°
- Terminal Blocks: BNC plug
- BNC Connector is suitable for most PH meters and controllers.
- Suitable for a wide range of applications: Aquariums, Hydroponics, Laboratory, etc.
- This PH sensor is calibrated @ 24 degrees centigrade room temperature. Calibrated values are: PH4 = 1.5V, PH7 = 2.0V and PH9 = 2.5V
Applications: PH Sensor Module with Electrode Probe
- Water quality testing
- Aquaculture
Cautions: Ph Sensor Module
- Before being measured, the electrode must be calibrated with a standard buffer solution of known pH value. In order to obtain more accurate results, the known PH value should be reliable, and closer to the measured one.
- When the measurement is completed, the electrode protective sleeve should be put on. A small amount of 3.3mol / L potassium chloride solution should be placed in the protective sleeve to keep the electrode bulb wet.
- The leading end of the electrode must be kept clean and dry to prevent short circuits at both ends of the output, otherwise, it will lead to inaccurate or invalid measurement results.
- After long-term use of the electrode, if you find that the gradient is slightly inaccurate, you can soak the lower end of the electrode in 4% HF (hydrofluoric acid) for 3-5 seconds, wash it with distilled water, and then soak in potassium chloride solution to make it new.
Activation: Ph Sensor Module
- pH/REF – Soak the glass bulb and ceramic junction in 0.1M Hydrochloric Acid for 2 hours and then rinse thoroughly with distilled water
- ORP – Electrodes may need additional cleaning occasionally with polishing paper
- Conductivity cell – Replating is required if the mentioned cell constants are not obtained
Probe Specification:
- Measuring range :- 0~14pH
- Resolution :- 0.01pH
- % Theoretical slope :- (PTS) ≥98.5% (25 ℃)
- Probe length :- 1 meter
- Resistance :- ≤250MΩ (25 ℃)
- Alkali error :- ≤15mV (25 ℃)
- Ambient Temp. (Operating) :- 0ºC~80ºC (32ºF~152ºF)
- Relative humidity (Operating) :- ≤85%
NOTE: Maintenance and precautions:
- 1. Test before removing the electrode protective sleeve (kit solution is 3MKCL, if there are crystals oozing is normal and does not affect the use of electrodes)
- 2. Observe whether all sensitive bulb filled with liquid inside, if there is a bubble, you should gently shake the electrode downward (like rejection thermometer) to remove air bubbles inside the sensitive bulb, otherwise it will affect test accuracy.
How to Use the pH Meter / PH sensor Module:
- Sample Code – Check Here
- Tutorial Video – Check Here
- Please use an external switching power supply, and the voltage as close as possible to the +5.00V. More accurate the voltage, the higher the accuracy!
- Before the electrode in continuously used every time, you need to calibrate it with the standard solution, in order to obtain more accurate results. The best environment temperature is about 25, and the pH value is known and reliable, close to the measured value. If you measure the acidic sample, the pH value of the standard solution should be 4.00. If you measure the alkaline sample, the pH value of the standard solution should be 9.18. Subsection calibration, just in order to get better accuracy.
- Before the pH electrode measured different solutions, we need to use water to wash it. We recommend using deionized water.
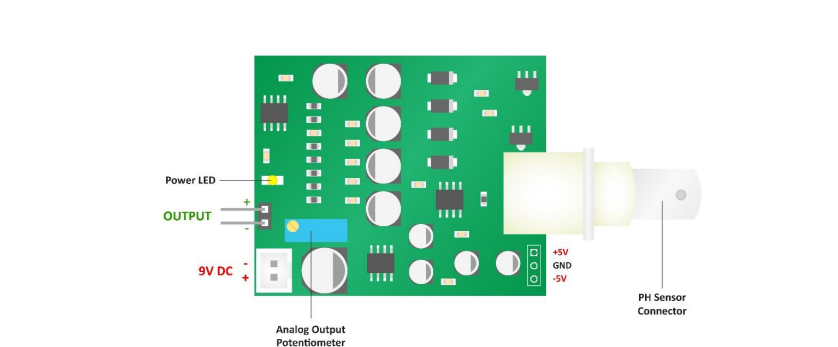
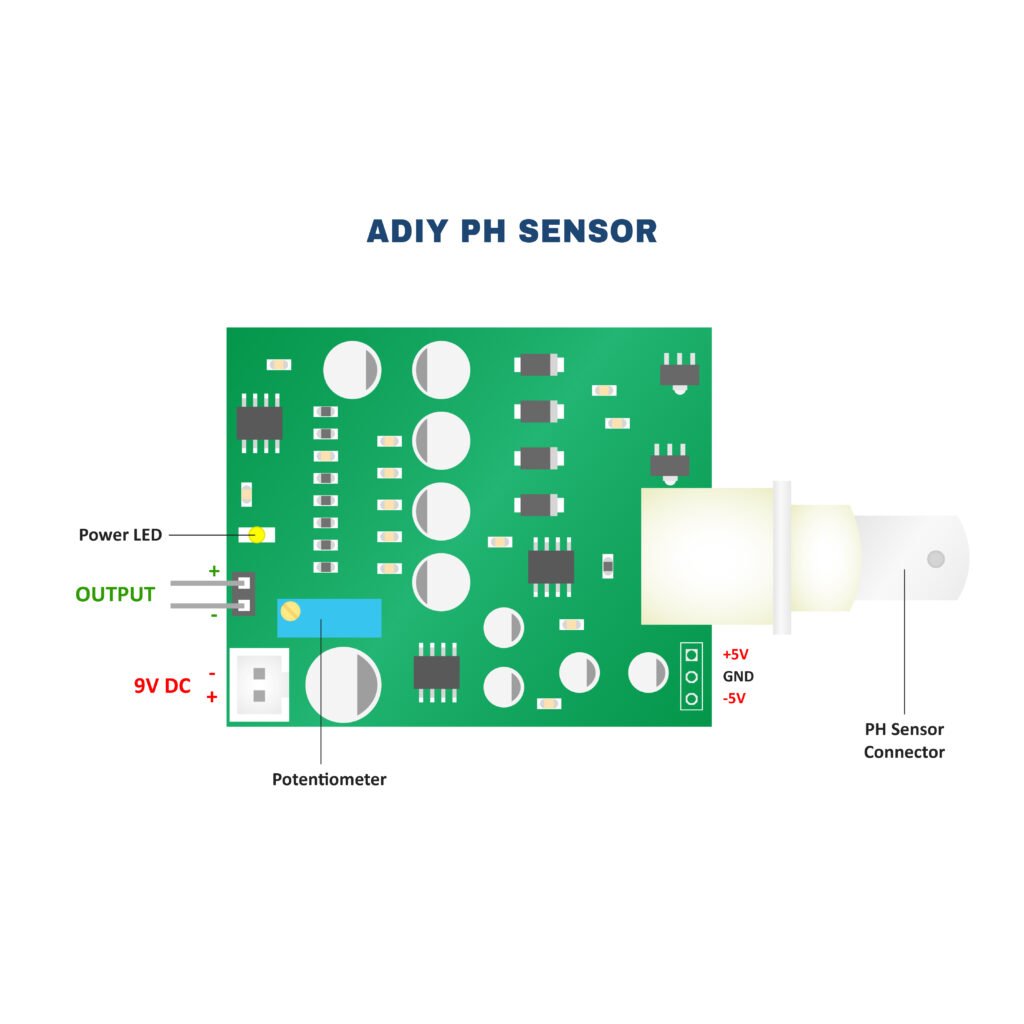
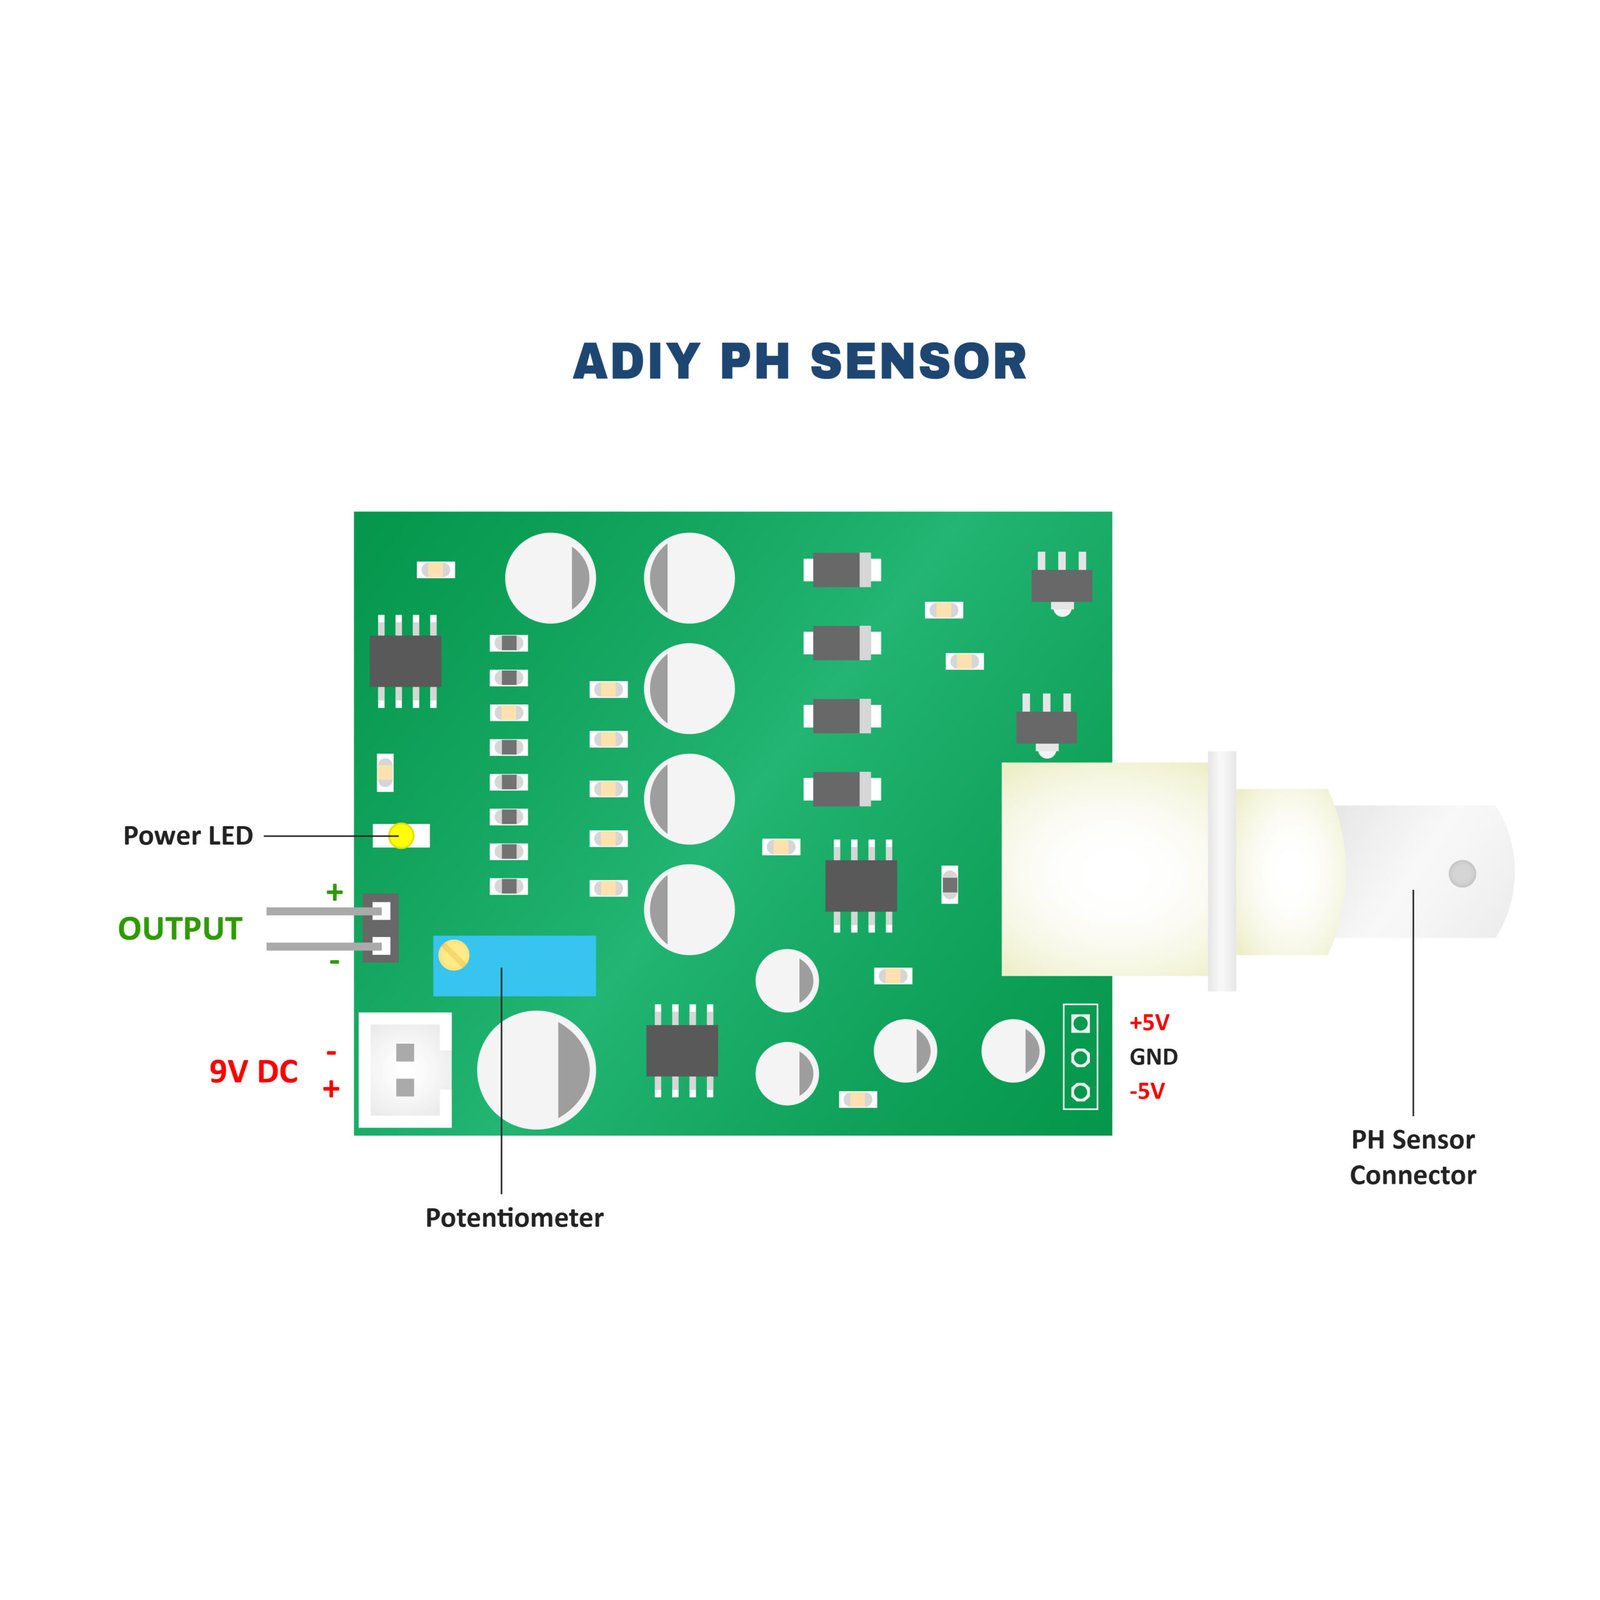
- Connect equipment according to the graphic, that is, the pH electrode is connected to the BNC connector on the pH meter board, and then use the connection lines, the pH meter board is connected to the analog port 0 of the Arduino controller. When the Arduino controller gets power, you will see the blue LED on the board is on.
- Upload the sample code to the Arduino controller. (Sample Code – Check Here )
- Put the pH electrode into the standard solution whose pH value is 7.00 or directly shorted the input of the BNC connector. Open the serial monitor of the Arduino IDE, and you can see the pH value printed on it, and the error does not exceed 0.3. Record the pH value printed, then compared it with 7.00, and the difference should be changed into the Offset in the sample code. For example, the pH value printed is 6.88, so the difference is 0.12. You should change the # define Offset 0.00 into # define Offset 0.12 in your program.
- Put the pH electrode into the pH standard solution whose value is 4.00. Then wait about one minute, adjust the gain potential device, let the value stabilize at around 4.00. At this time, the acidic calibration has been completed and you can measure the pH value of an acidic solution.
Note: If you want to measure the pH value of other solutions, you must wash the pH electrode first!






Reviews
There are no reviews yet.