


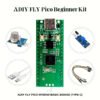


FLY Pico Beginner Kit – ADIY
Original price was: ₹650.00.₹614.00Current price is: ₹614.00. (Including GST)
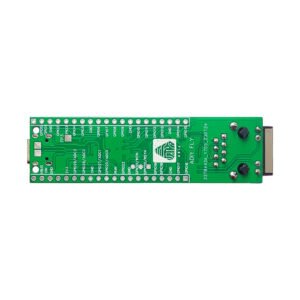
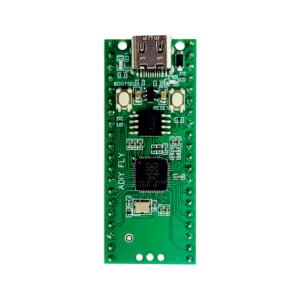
The ADIY PICO is a small yet powerful microcontroller board based on the RP2040 chip. It’s designed for learning, experimenting, and building projects — from simple LED blinkers to advanced IoT devices. With multiple pins, built-in memory, and USB support, the Pico is the “brain” that will control all the sensors, modules, and displays in your kit. Before you can start coding with the Arduino IDE, read the following instructions below.
SETUP OF ADIY PICO FOR ARDUINO IDE
Here’s the step-by-step guide for installing Raspberry Pi Pico support in the Arduino IDE:
Step 1 – Open Arduino IDE Make sure you are using Arduino IDE 2.x (recommended) or at least
Arduino IDE 1.8.19.
Step 2 – Open Preferences Go to File → Preferences (Windows/Linux) or Arduino IDE → Preferences (Mac). In the window that opens, look for the box “Additional Board Manager URLs”.
Step 3 – Add the Pico Board URL Paste this URL into the box:
https://github.com/earlephilhower/arduino-pico.git
Step 4 – Open Board Manager Go to Tools → Board → Board Manager. In the search bar, type:
rp2040 Find “Raspberry Pi RP2040 Boards (by Earle Philhower) Click Install.
Step 5 – Enter Bootloader Mode & Upload Sketch
Press and hold the BOOTSEL button on your Raspberry Pi Pico, then connect it to your computer using a USB cable. Release the button once a new storage drive (usually named RPI-RP2) appears on your computer. This means the board is now in bootloader mode, ready to receive code. You can now upload your first sketch from the Arduino IDE.
Step 6- Connect your Raspberry Pi Pico via USB: Go to Tools → Board and select: Raspberry Pi Pico.
Step 7 – Select Port: Go to Tools → Port and choose the COM port that shows up when the Pico is connected. On Windows, it appears as “USB Serial Device”. On Mac/Linux, it shows as /dev/tt
Step 8 – Upload a Test Sketch Open File → Examples → Basics → Blink. Click the Upload button. Now your Pico is fully set up for Arduino IDE
Related products
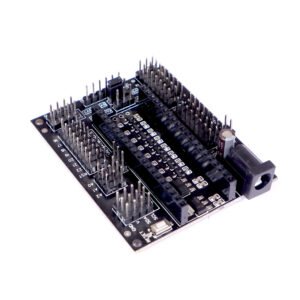
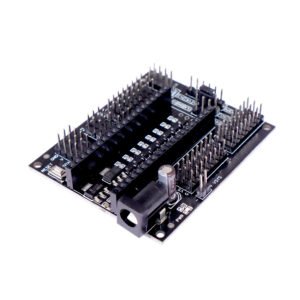
ADIY IO Expansion module for Raspberry Pi Pico
Original price was: ₹350.00.₹182.00Current price is: ₹182.00. (Including GST)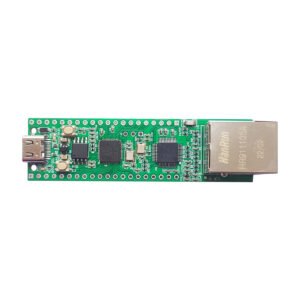
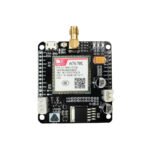
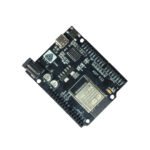
ADIY W5500 EVB PICO RP2040 (Type C)
Original price was: ₹850.00.₹662.00Current price is: ₹662.00. (Including GST)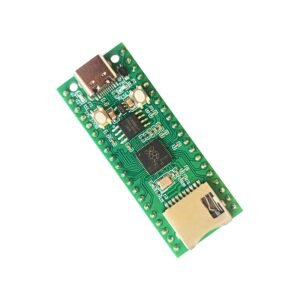

FLY Pico RP2040 Basic With SD Card Holder (Type C)
Original price was: ₹750.00.₹419.00Current price is: ₹419.00. (Including GST)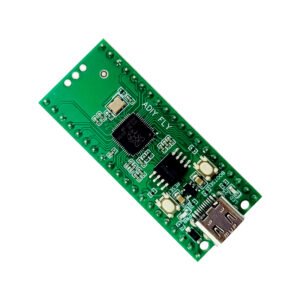


Reviews
There are no reviews yet.